How to install a light fixture
1.5 HOURS | EASY | 6 STEPS
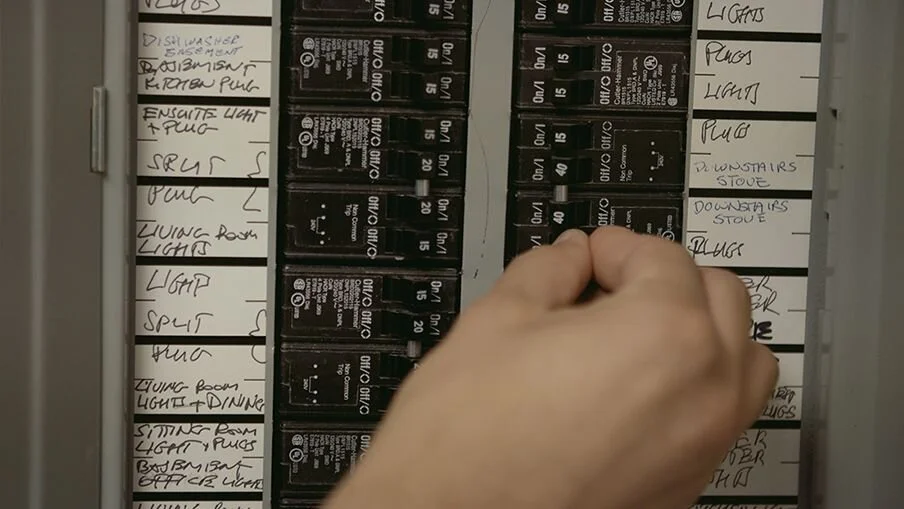
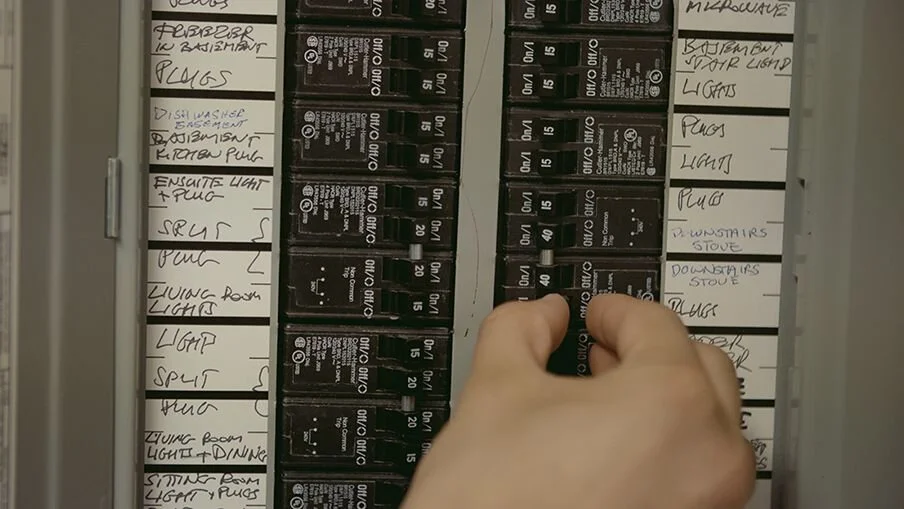
STEP 1 - Turn off the power
Before removing old fixture . Start by switching off the circuit breaker that supplies power to the room. THEN TEST the wall switch TO MAKE SURE POWER IS OFF.
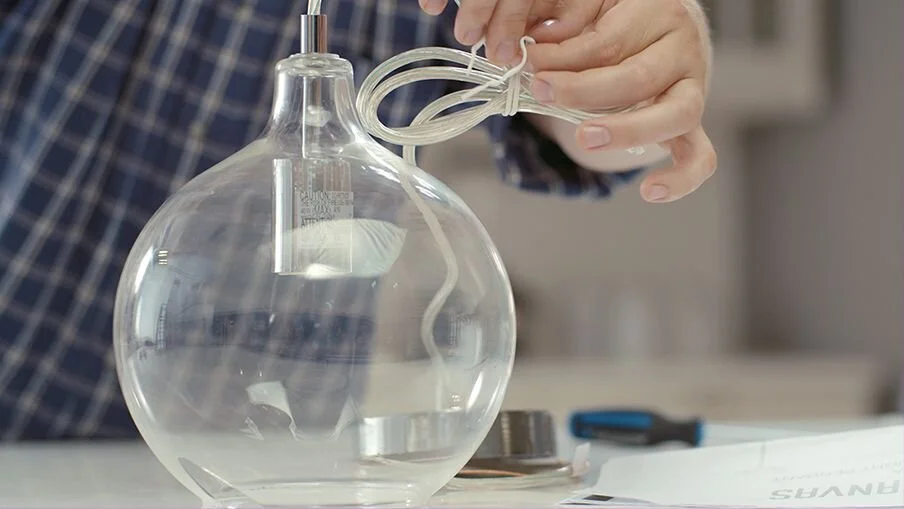
STEP 2 - Prepare the new fixture
Unpack the new fixture and read the installation instructions.
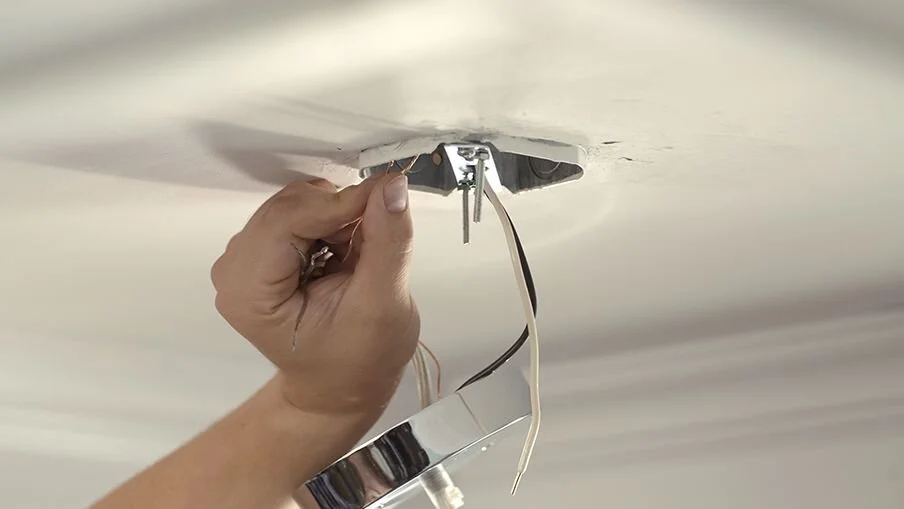
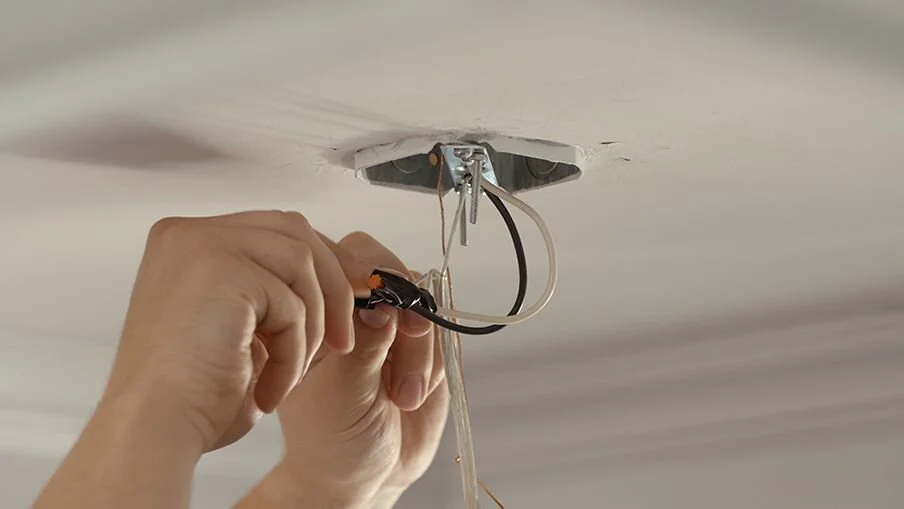
STEP 3 - Connect the wires
Attach the bare copper ground wire on the fixture to the bare copper ground wire in the outlet box or to the green grounding screw on the suspension bar. Then connect the white wires using a twist-on wire connector. Next, twist the black wires together with a connector.
STEP 4 - Secure with electrical tape
Attach a short piece of electrical tape to each set of wires to keep everything secure.
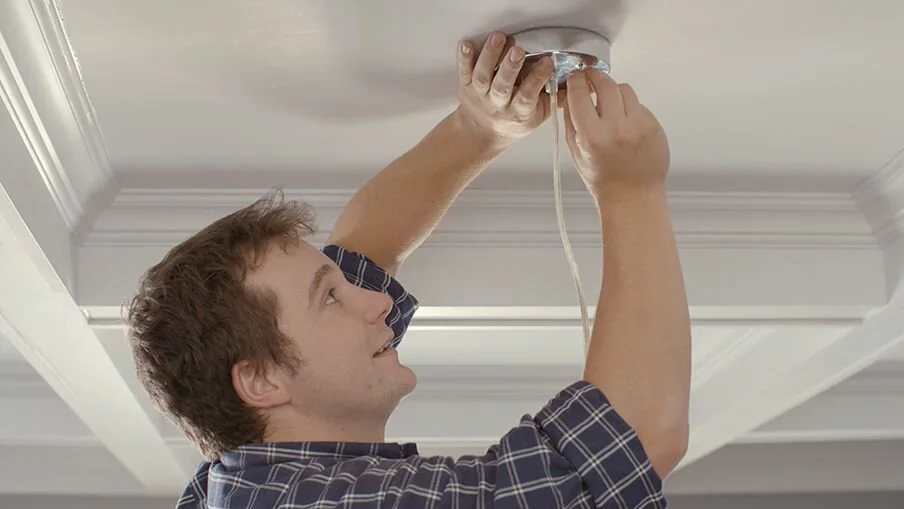
STEP 5 - Attach the fixture
Install the new fixture with the supplied hardware.
STEP 6 - Turn on power and test light
Turn on the circuit breaker and flip on the switch.